Refresh
this page because I am probably still making changes
to it.
Thymeleaf is a template engine that allows you
to build HTML pages that can be filled with dynamic data.
For example, you might want to look up a list of books in a database
by a certain author, and list those books in an HTML table or an
unordered list on the HTML page. The list of books might be different
each time the database query is made, you only need to worry about
displaying one table row or one list item for each book, and which
fields you want to display. This kind of page is easy to create
using Thymeleaf.
In this lesson we'll learn the basics of Thymeleaf with a simple
demonstration. Later, we'll look at more of the details of
Thymeleaf syntax and use it to create more comprehensive applications.
Thymeleaf is a template engine. It allows you to take
normal HTML code and add special attributes to make
your pages display dynamic content. You use HTML
and Thymeleaf to create a "template" and then Thymeleaf
fills in the data for you as it's processed on the server.
The plain-text/html response is then sent back to the
client with all your normal structure, styling, and data.
There is just
so much stuff you can do with Thymeleaf, so this is really
just an overview of the most common things you might
want to do. Feel free to explore the
documentation and
the
tutorials to find out what else you can do!
Thymeleaf also makes use of Spring Expression Language,
or SpEL in addition to a huge number
of special attributes you can add right into the
HTML elements you're already familiar with.
For example, the following code displays a paragraph element containing
the values of an Inventory object's data members:
Don't worry too much about what's going on in that code,
you'll learn what it all means over the next couple of lessons.
But you can probably guess a lot already!
The values with the ${ } are called Thymeleaf
Expressions or variable expressions.
These expressions evaluate to something, depending on what the
expression is. These expressions usually go inside special Thymeleaf
attributes that are prefixed with th:.
We'll explore all the details of variable expressions in the next
lesson on Thymeleaf Syntax.
Model Attributes
In the lesson on request
paramters we learned how to send data from an input
form into the Controller. The next logical question might be
"How can we send data from the controller to an ouput page?"
In other words, how can we add stuff to the response that
goes back to the client? For example, if the
user uses an HTML page with a form to select a genre
of book, we would send that genre input to the controller
(in the request)
and tell the controller to look up all the books with that
genre in the database. Once we retrieve the list of books
we want to send that list along with the response back
to the client so that the user can see the list of
books nicely formatted on an HTML page.
We need two things to do this:
Model attributes where we store the list of books.
A Thymeleaf template page to format the list of
books so that it's presentable.
First we'll talk about Model attributes, and then in the
next next few lessons section we'll look at Thymeleaf
in detail.
What is a Model Attribute?
The org.springframework.ui.Model
is an object that is used to store attributes as
key-value pairs (it's actually a type of
Map - recall from Java 2 that a Map
is a Collection object of key-value pairs),
so that those attributes can be used
in a single request-response cycle. Attributes can be
objects or primitive data. The attribute's key is a
String value that must be unique (different from all the
other attribute keys currently stored in the Model)
and the value can be a primitive or any kind of
object.
Examples:
The attribute with the key "numStudents" could have a value
for the number of students in a class.
The attribute with the key "username" could have a value
representing the user name of the user that's currently
logged in.
The attribute with the key "newItem" could have a value
that's an entire Inventory object (with an item id,
item name, quantity oh hand, price, etc) for an inventory
item that a user is adding via an HTML form.
Recall that HTTP is stateless: let's say you go to the SLATE
page and log in with your credentials:
When you submit the login form, your browser
makes a request and sends along your credentials
with the request.
The server validates your credentials and sends back
a response page that lists all the courses you have
access to this term.
You click on the PROG32758 course and your browser
sends a new request to the server, requesting the main
page for that course.
Because HTTP is stateless, the server doesn't remember
the previous requests, so it doesn't remember you.
It uses cookies and sessions to figure out who you
are and if you're allowed to access the requested page.
For example, the code on the server might have to check
the session data to see who you are, and then run a
query to see if you're authorized to view the
requested page.
In a Spring application, we can set attributes when
a request is being processed so that those attributes
can be accessed by the the response and added to the
output page. Later you'll earn to use Session attributes
to do the same thing across different request-response
cycles!
The Model is where we store request attributes: these attributes
are accessible during a single request/response cycle.
So any attributes you add to the Model when processing the request
are accessible when the response is created and sent
back to the client.
You can store attributes in the Model object using code
in your Controller (generally, in a handler method) and
then you can access those attributes on an HTML output
page!
To access the Model in a handler method, just add a Model
parameter to your method: Spring automatically injects
the Model it has in the IOCC!
@GetMapping("/")
public String home(Model model) {

  // add an attribute to the model
  model.addAttribute("cat", "Sydney");
  return "page.html";
}
In this example, we're adding a String object to the Model.
The attribute has a key of "cat" and the attribute's value
is a String object with the value "Sydney".
Here's another example:
@GetMapping("/")
public String home(Model model) {

  Book b = new Book();
  b.setIsbn(12345678);
  b.setTitle("A Good Book");
  b.setAuthor("Someone Interesting");
  b.setPrice(9.99);

  // add an attribute to the model
  model.addAttribute("book", b);
  return "page.html";
}
In this example, we're constructing a Book instance,
setting some of its members, and then adding
a Model attribute that has the key "book".
The attribute's value is the book object we
created.
Go ahead and try it out:
Start up a new project, add the dependencies for
Spring Web, Dev Tools, Thymeleaf and Lombok.
Add a Controller to the .controllers package.
Add a .beans package and put one of your beans
in there. I'm going to use the Book bean in my example.
Add an index.html page to the /templates directory
and edit the <title> value. Add a heading of your
choice.
In the <html lang="en"> element, add the Thymeleaf namespace:
Let's pause for a moment and examine the code you added to the
<html> element:
xmlns:th defines the namespace
for the Thymeleaf attributes. "xmlns" stands for "XML
namespace" and the "th" is the tag/attribute prefix
we will be using.
http://www.thymeleaf.org
is not a page you can visit (well, you can, but there's
nothing there). With web technologies, we use URLs/URIs as namespaces
because a URL/URI is unique: a URL/URI can only belong to exactly one
entity.
This whole statement basically says, "When you encounter any
tag/attribute that starts with "th:", you can determine how to
process that by looking at the definition within the namespace
http://www.thymeleaf.org"
If you didn't add this to your HTML page, then the server wouldn't
understand what to do when it encountered any tag/attribute that
started with th: (such as th:text).
It would not parse or process those attributes and they'd appear
in the response as-is when sent back to the browser in the
response body.
Now go to your controller and add a handler for the index page.
Instantiate a Book object
(or instantiate whatever class you chose for your bean).
Add your book object to the Model as an attribute.
Add a second model attribute that's a String. Use
any key and any String value you like.
	@GetMapping("/")
public String index(Model model) {

    Book b = new Book(123456789, "Cheese Stories",
        "Wendi Jollymore", 29.95, 1);
    model.addAttribute("book", b);

    model.addAttribute("cat", "Sydney");

    return "index.html";
}
So storing attributes is easy, now how do we access them
in our output pages? For this we use Thymeleaf.
We'll start with a quick example:
Add the following to your index.html page, under your heading:
<p th:text="${book}">my new book</p>
<p th:text="${book.title}">a book title</p>
<p th:text="${cat}">a cat's name</p>
Replace "book" and "cat" with the names of your two attributes, if you used
different ones!
The th:text="" attribute inside the <p> elements is a
Thymeleaf attribute. You should assign it a string value containing the
innerHTML content you'd like inside the element. You can use th:text
on most HTML elements.
In all three lines of HTML code I've assigned th:text a value
using the ${ } characters. This is a Thymeleaf Expression. This expression
is evaluated, and the result is assigned to the element's innerHTML as follows:
In the first line we have ${book}. This evaluates to the Model
attribute with the key "book.
Recall from the handler method code earlier that this
attribute stored a book object. So displaying ${book} will call
the toString() of the book object and display the return value
as the output.
In the second line we're also accessing the book attribute, but
this time we're asking for the data stored in the book object's
title member. So this expression ${book.title}
returns the value inside the title data member of the book
object. As long as the Book class follows Bean Law,
you're allowed to access class members in this way.
In the last line, we're accessing the attribute that has the key
"cat".
Each <p> element also contains some text: This is
fallback text: if for some reason the Thyemleaf
expression can't be evaluated or the code can't be parsed,
the <p> elements will show that fallback text, instead.
This is a best-practice of web development: always provide
fallback code if possible.
Request Parameter Object
What if you want to access form input values and request
parameters on the page
that's coming back as the response? You can! Thymeleaf gives
you access to the HttpServletRequest object (which holds your request
parameters, among many other things). Request parameters can be
accessed via the implicit object called param.
The param object is a map of all the
request parameters as key-value pairs in the query string.
To access one of the request parameters in your output page, just
use the ${param.key} where "key" is
the parameter name! Remember that the key corresponds to the
name attribute of the form input field.
For example, if I had a form <input> with attribute
name="firstName", you can access the input value
from the request as ${param.firstName}.
Below your form, add another paragraph element to display the value
of your form's input field:
<p th:text="${param.stuff}">stuff</p>
In your controller, add another handler method to process your form.
The handler should just load the index page (yes, you can totally do
that), and nothing else.
@GetMapping("/submit")
public String submit() {

    return "index.html";
}
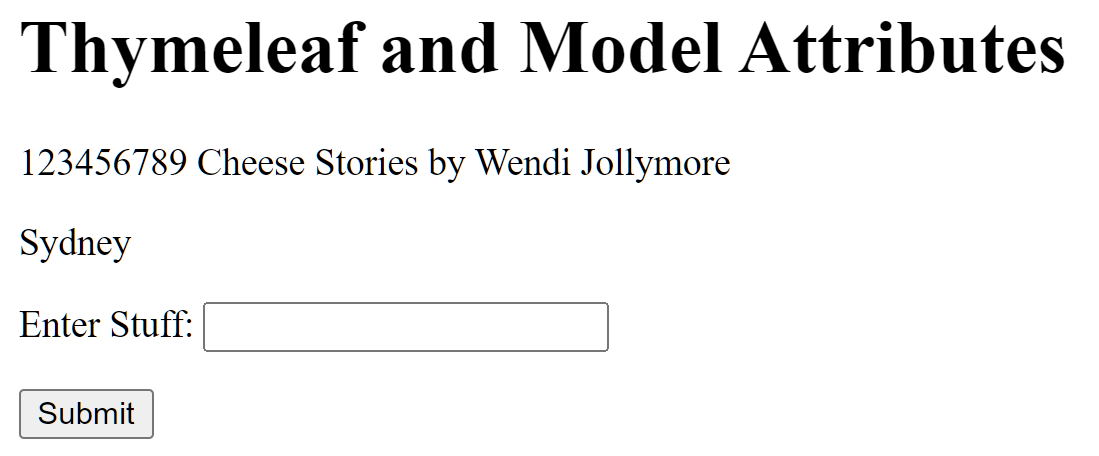
Save all your changes and test out your page: reload https://localhost:8080.
You should still see your book and string attirbutes on the page, but now
you'll also see your form.
The new index page
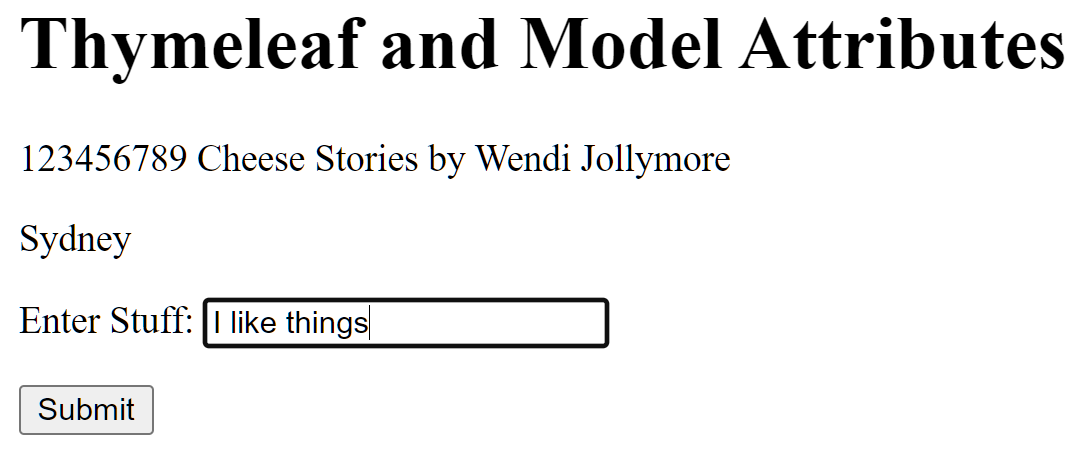
Go ahead and enter a value in the input field, and click the Submit button.
Add some text to the form input field
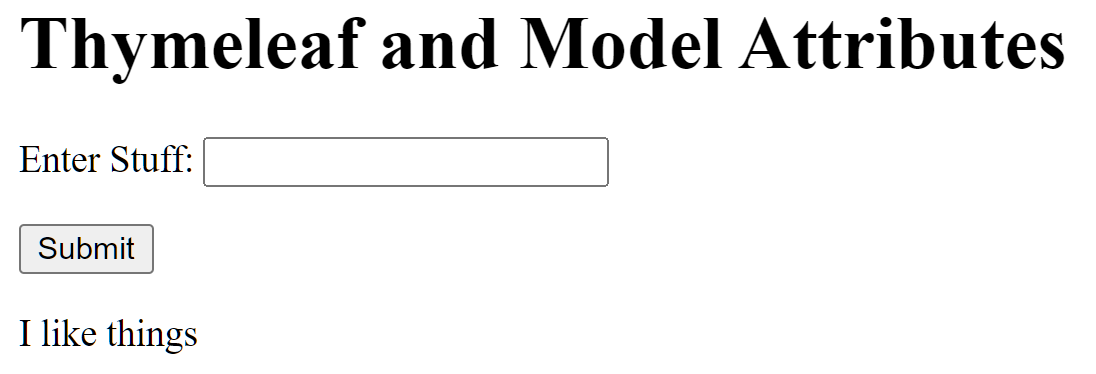
The controller will execute the handler for the form's submit action.
This will cause the index.html page to reload. On the page, you should
now see your input text below the form.
The index page after form submission
Note that you no longer see your first two attributes for the book and the
String. Recall that HTTP is stateless: when you make a request, the server
processes that request, and then returns a response. Once the server sends
the response, it forgets who you are and what you were doing, it doesn't
need to remember those details. When the form is submitted, a new
request is made, the server processes that request and responds with the
index page again. It doesn't remember any of the details of the previous
request.
The Model and its attributes has scope, just like
program variables and methods have. The Model has what we refer to
as Request/Response Level scope, or simply just
Request scope: This means that the model is only
"alive" or accessible/visible during a single Request-Response cycle.
once that cycle has completed and the client loads the Reponse, the
Model "dies" or is no longer accessible.
There are other levels of scope (for example, application-level scope)
and there are other ways to keep data alive or accessible between
request-response cycles (for example, using sessions). We'll learn
about these things later in the course.
Exercise
Start a new project and add Spring Web, DevTools, Lombok,
and Thymeleaf dependencies. Copy your Inventory bean from the previous
lesson over to this project.
Add an index page with a form that asks the user
to enter their name. Add a controller that maps to the root and
loads the index page.
Add an output page (e.g. output.html) and give it a title and heading.
In your controller, add a handler method that receives the user's
input for the name field on the form.
Also, construct an instance of the Inventory class and give it some
data for the id, item name, and quantity.
Store the inventory object in the model.
On your output page, display the inventory object as a String, then
display the item id, name, and quantity separately, then also
display the user's name that they entered on the form.